once upon a time, we moved into a house. we owned almost no living room furniture, except for a recliner and clearly if anyone besides us was trying to hang out in the living room, that would be awkward. there was also this sad little love seat that had been left there by the people who had lived there last.
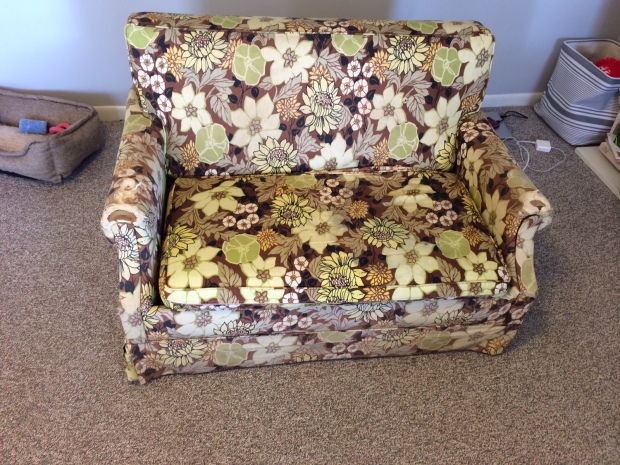
 see how old and not-attractive? (suddenly i feel mean talking about it this way)
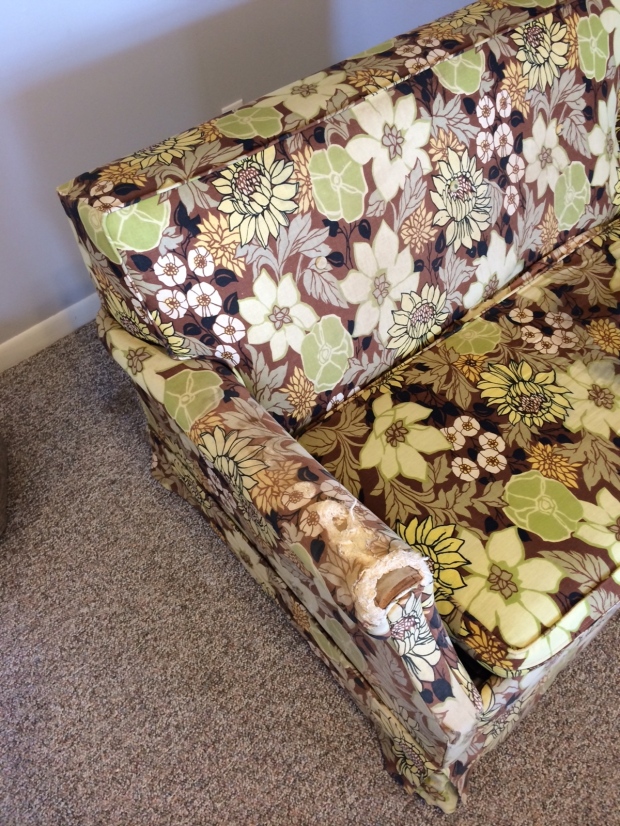
the upholstery was thinning and worn off in some places, stained, and just generally ugly. plus it didn’t go with the gray walls. ha.
however, i thought the shape of the piece was nice, and spending a little on some new fabric sounded better and more immediate than going out and buying new furniture.
this was the first time i have ever attempted reupholstery. it wasn’t too difficult to figure out, but i learned a few things for next time. also i didn’t take pics of every step for you, because that would be boring and this isn’t really a tutorial, altho i would encourage you to try this quick fix for any old furniture you hate but can’t get rid of.
did you know this is what the inside of a couch looks like? fascinating. basically all the pieces were stapled onto the frame, so i just had to pull out all of the staples. if you want to try this, just start with the outermost piece (in this case, the skirt and then the back).
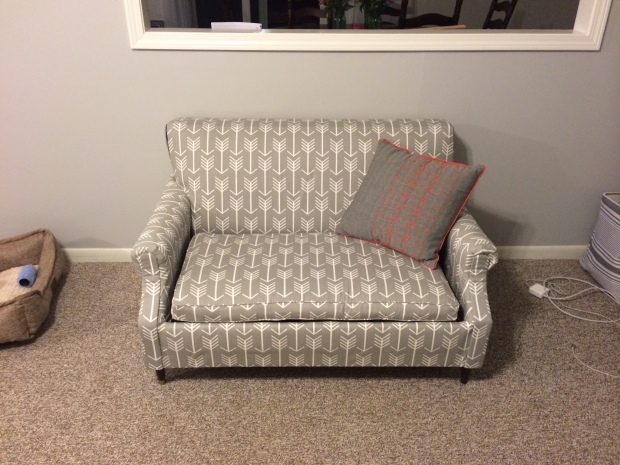
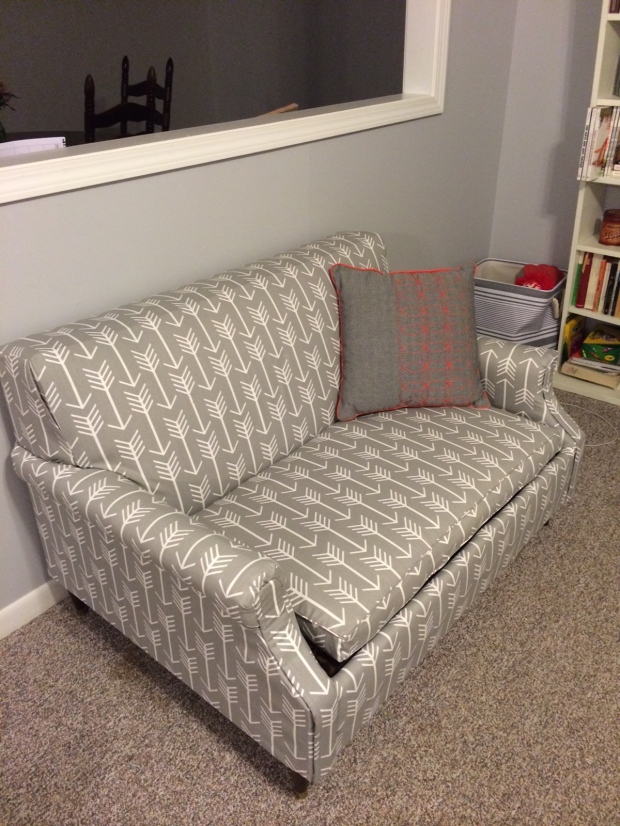
here is the finished project! yay!  i picked this cute gray arrowy print and loved it, but now it’s starting to look like it belongs in a baby nursery or something. anyway. also yes that is a paint roller in polly’s bed. sorry, but our house is just now starting to be even somewhat decorated and ‘styled’ hahaha. and this was like a month ago. or two.
i left the skirt off, partly because i was too lazy to make and hem a new one, and partly because i like this look better. i also didn’t bother taking the fabric off of the back or arms- just covered it right up with the new fabric. the only thing i used a sewing machine for was the cushion cover.
some tips if you want to try this:
take out the staples, working from the outermost piece inward, saving the original upholstery pieces for your pattern! also save the tack strips that probably are at least on the back edges. take pictures so you can remember how it was all assembled!
reupholster in the opposite order that you took the pieces off- for example, if you take them off like skirt-back-sides-arms-front,,, they need to go back on front-arms-sides-back-skirt to take care of visible staples and things like that.=)
don’t forget to stretch the fabric as tightly as possible when stapling it. i usually stapled the top of the piece, then the bottom, then the sides to try to get it all stretched evenly.
use an air stapler gun thing (whatever they’re called) if possible unless you have large, strong, muscular hands. my hands ached and had blisters the next day. but maybe I’m just a wimp. haha.
the end. i got really into this so i bought two ugly chairs at an auction.. they’re my next project!

You did a lovely job!
LikeLike
I really like that !! You did a super job !! I can’t imagine myself tackling something like that .
LikeLike
Delight!! A couple new blog posts! Nice job on the sofa and cheesecake sounds good. John thought so… He loves desserts, anything sweet. Glad I fit in that bracket 🙂 (since he’s sitting beside me)
LikeLike
That love seat looks very nice! I have a chair you can come help me do now!;)
LikeLike
I love a story that starts with “once upon a time” and I love this love seat. The fabric is to die for! I have a chair that I would love to do this with, but am nervous to try it. You did an amazing job!
LikeLike
What a lovely little piece!
LikeLike